American Homes and Gardens®
Kitchen Remodeling
 |
 |
 |
.jpg) |
 |
 |
![]()
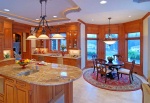
Creating an Upscale Look in a Downscale Economy
Iaasic Joseph
![]()
Woodworking with Isaac Joseph Have you ever sat down with a pencil and paper to figure how you can remodel your vintage kitchen, or put a face lift on your house without spending a fortune? Quite simply, many of us have. In today’s economy, homeowners are looking for a high quality and upscale look, while staying within their budget. If your home is like many of the homes I have worked in over the years, you have standard cabinets with half inch plywood construction, cheap drawer glides (if any), and plain face slab doors. It is rare to find any of these still in the natural wood form, since the previous owners decided to upscale in their own way by either painting or papering them. |
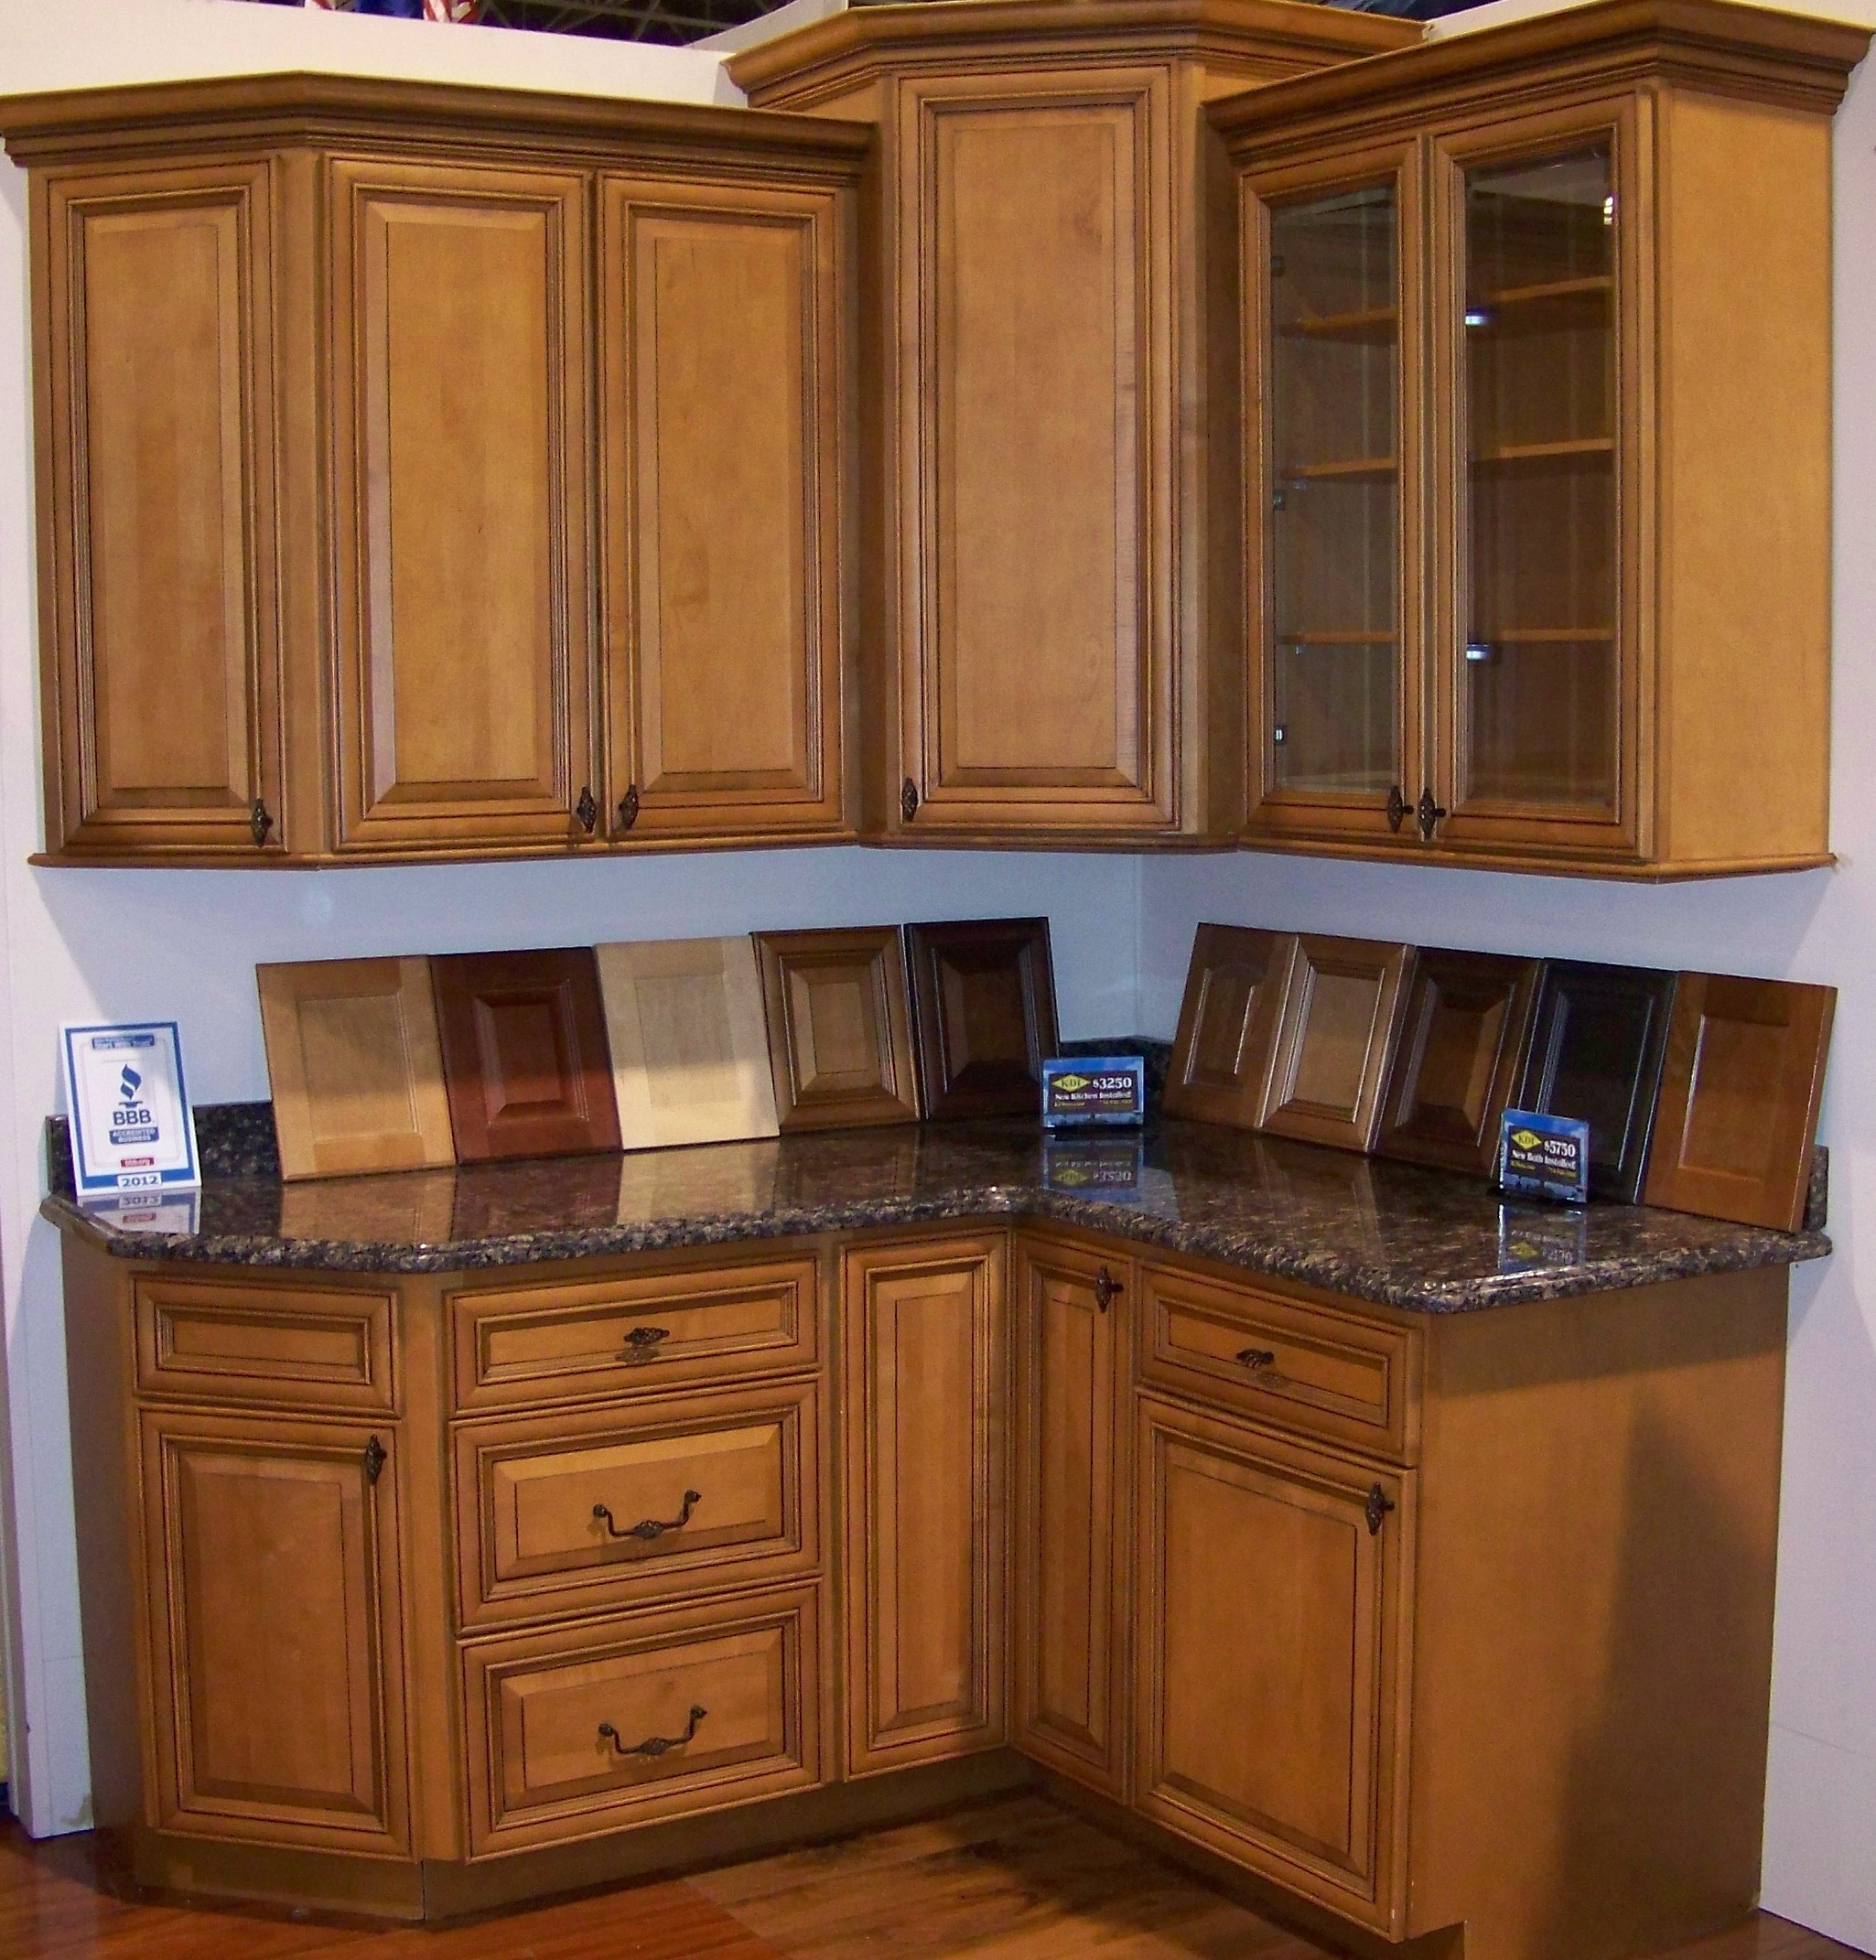 |
However, for our approach all we need is a short list of tools and materials, which I'll provide at the end of the article. Measure the width and height of all of the cabinet doors and drawer fronts, noting them down on a pad. Once you have a list, (I would make two columns, one for drawer fronts, one for doors.) Pull up a chair, calculator and the kids and get a math lesson going as you figure out how many sheets of plywood you will need to copy the doors and drawer fronts you currently have. Just for reference, a standard sheet of plywood measures 4 feet by 8 feet. You can also purchase half sheets as well, however, they are more expensive. Head to your local lumber yard or big box hardware store You will want to purchase three quarter inch birch plywood. (Birch plywood has twice the amount of layers that regular plywood has, and comes with a beautiful finished hardwood veneer on one side.) If you are not able to transport a whole 8' x 4' sheet of plywood, the store will often cut it down to manageable sizes. (But you will still have to cut it down to the right sizes for your particular project.) Once you have your pieces cut to size, we are ready to begin routing the edges. There are a variety of different edge styles available to choose from, and I would suggest checking with the store when you buy the plywood to find out your available options. To dress up the cabinet fronts even further, you may consider a decorative molding that would give the look of having a raised panel door and drawer design, but that’s up to you. It consists of a small half molding, (that is a molding that’s flat on the back with a decorative design on the top side.) This molding is set back one and a half inches from the edge of the door or drawer on each side, and gives the illusion of a much more expensive cabinet line, without much of an increase in the cost. Before you head to the checkout line, remember there are a few more places to stop. Head over to the tool corral and find a router profile bit that you like, (if you don’t have a router, you can usually rent them from the Depot as well as a tabletop table saw.) You’ll probably want to ask an associate for details and help on choosing the best bit, also make sure the bit you choose has a ball bearing guide on the bottom of the bit. You will find handles, knobs, pulls, slides and hinges in the hardware aisle. the usual configuration is two hinges or every door, and one drawer guide set for every door. I would recommend a self-closing hinge and a simple drawer glide will be sufficient. Now, bring them back to the home shop and we’ll get started Take the doors, making sure all the sides are facing same side up, and lay out one cabinet at a time, doors and drawers, making sure to have the correct sizes and sides lined up correctly. Also, make sure the grain is going the same way for all the doors and drawers. For doors the grain should be going vertically, and horizontally on the drawers. I would recommend labeling each individual cabinet layout with a number system. For example: starting with the top left drawer, labeling that number 1, and working in a clockwise manner from there. Do this with EACH cabinet layout to avoid costly mix-ups and mistakes at a later time. Now after ensuring correct sizing and adjusting them as needed, route the router profile around each individual edge. It is wise to take a scrap piece of plywood to practice on first, to ensure that your depth and rate of speed is correct. It saves ruining a perfectly good piece of wood on a very avoidable mistake. Be careful, plywood can catch a router bit very quickly and pull it in fast. After carefully routing a profile on all door and drawer fronts, smooth off the rough edges left by the router, it’s as easy as taking a piece of sand paper and gently running it back and forth until the edges feel comfortable to you. Be careful not to sand too much or you will stand the chance of sanding through the veneer. After the profile has been routed and the edges all cleaned up with sandpaper, add a decorative raised panel look by installing that molding we bought. Simple 45 degree mitered corners, a little glue and some small ¾” finish nails will hold all four pieces in place. At this point, we’re ready for wax filler on the nail holes, a finish sanding followed by a coat of stain and varnish. Depending on the type of hinge you have decided on will determine the installation needed, although I would recommend a hidden surface mount type. It provides the easiest installation and will be the most cost effective for the project. As far as the cabinet frames go, I have found the easiest way to address this is to lightly sand and stain or paint the frames. Painting, even though we are staining the doors and drawers, can actually offset the attractiveness of the natural wood. It’s pretty much up to your personal preference. Depending on the size of your kitchen, this project can be done in a weekend. (or a couple depending on the size.) One really nice thing about this, is that you can do a few cabinets at a time since the old drawers and doors can be left on while you're working. As you can see with this simple, effective approach, we have transformed an obviously dated kitchen, giving it a front lift that will cause the friends and family to want to know who your installer was and keep a nice amount of money remaining safely in your bank account. The material and tools list for this project is as follows
For further information on this article, please can contact me at: Isaacrjoseph@gmail.com.
|
|
|
|
|
||
©2012-2013 American Homes and Gardens. All rights reserved.